DS2002 Data Science Systems
Course materials and documentation for DS2002
AWS IAM and S3 Storage
The goal of this activity is to familiarize you with Amazon Identity Access & Management (IAM) and Amazon S3 storage. IAM is the central service that controls access to all other AWS services, so it is critical to have a basic understanding of how it works. S3 is one of the quintessential solutions for storing datasets, sharing files, backing up data, and building data pipelines that require reliable object storage.
You will learn how to use the web-based AWS Management Console and programmatically interact with AWS services via the AWS Command Line tools (awscli) and boto3 Python package.
Note: Work through the examples below, experimenting with each command and its various options. If you encounter an error message, don’t be discouraged—errors are learning opportunities. Reach out to your peers or instructor for help when needed, and help each other when you can.
- Start with the In-class Exercises which provide an introduction to IAM and S3.
- Complete Lab 08: S3 Storage.
- Continue with the Additional Practices section on your own time.
- Optional: Explore the Advanced Concepts if you wish to explore cloud storage in more depth.
In-class exercises
This week’s hands-on work has two parts, Amazon IAM and Amazon S3.
IAM
Step 1: Log into AWS Academy
-
You should have received an email to your UVA account with an invitation to the AWS Academy Cloud Foundations course.
-
If you haven’t done so yet, follow the AWS Academy account setup instructions to get your account ready.
Step 2: Review AWS Academy lab instruction
- On the AWS Academy Canvas page, navigate to the
AWS - Cloud: ds2002-sp26course >Modules>Introductionand review theHow to complete lab exercisesinstructions.
Step 3: Complete Lab: Introduction to AWS IAM
-
On the AWS Academy Canvas page, navigate to
Modules>Module 4>Lab - 1 Introduction to AWS IAM -
Follow the lab instructions. When you click Start Lab. Wait until the AWS indicator light turns green.
-
Click on the AWS link when the indicator turns green. A new browser tab should open with the
AWS Management Console.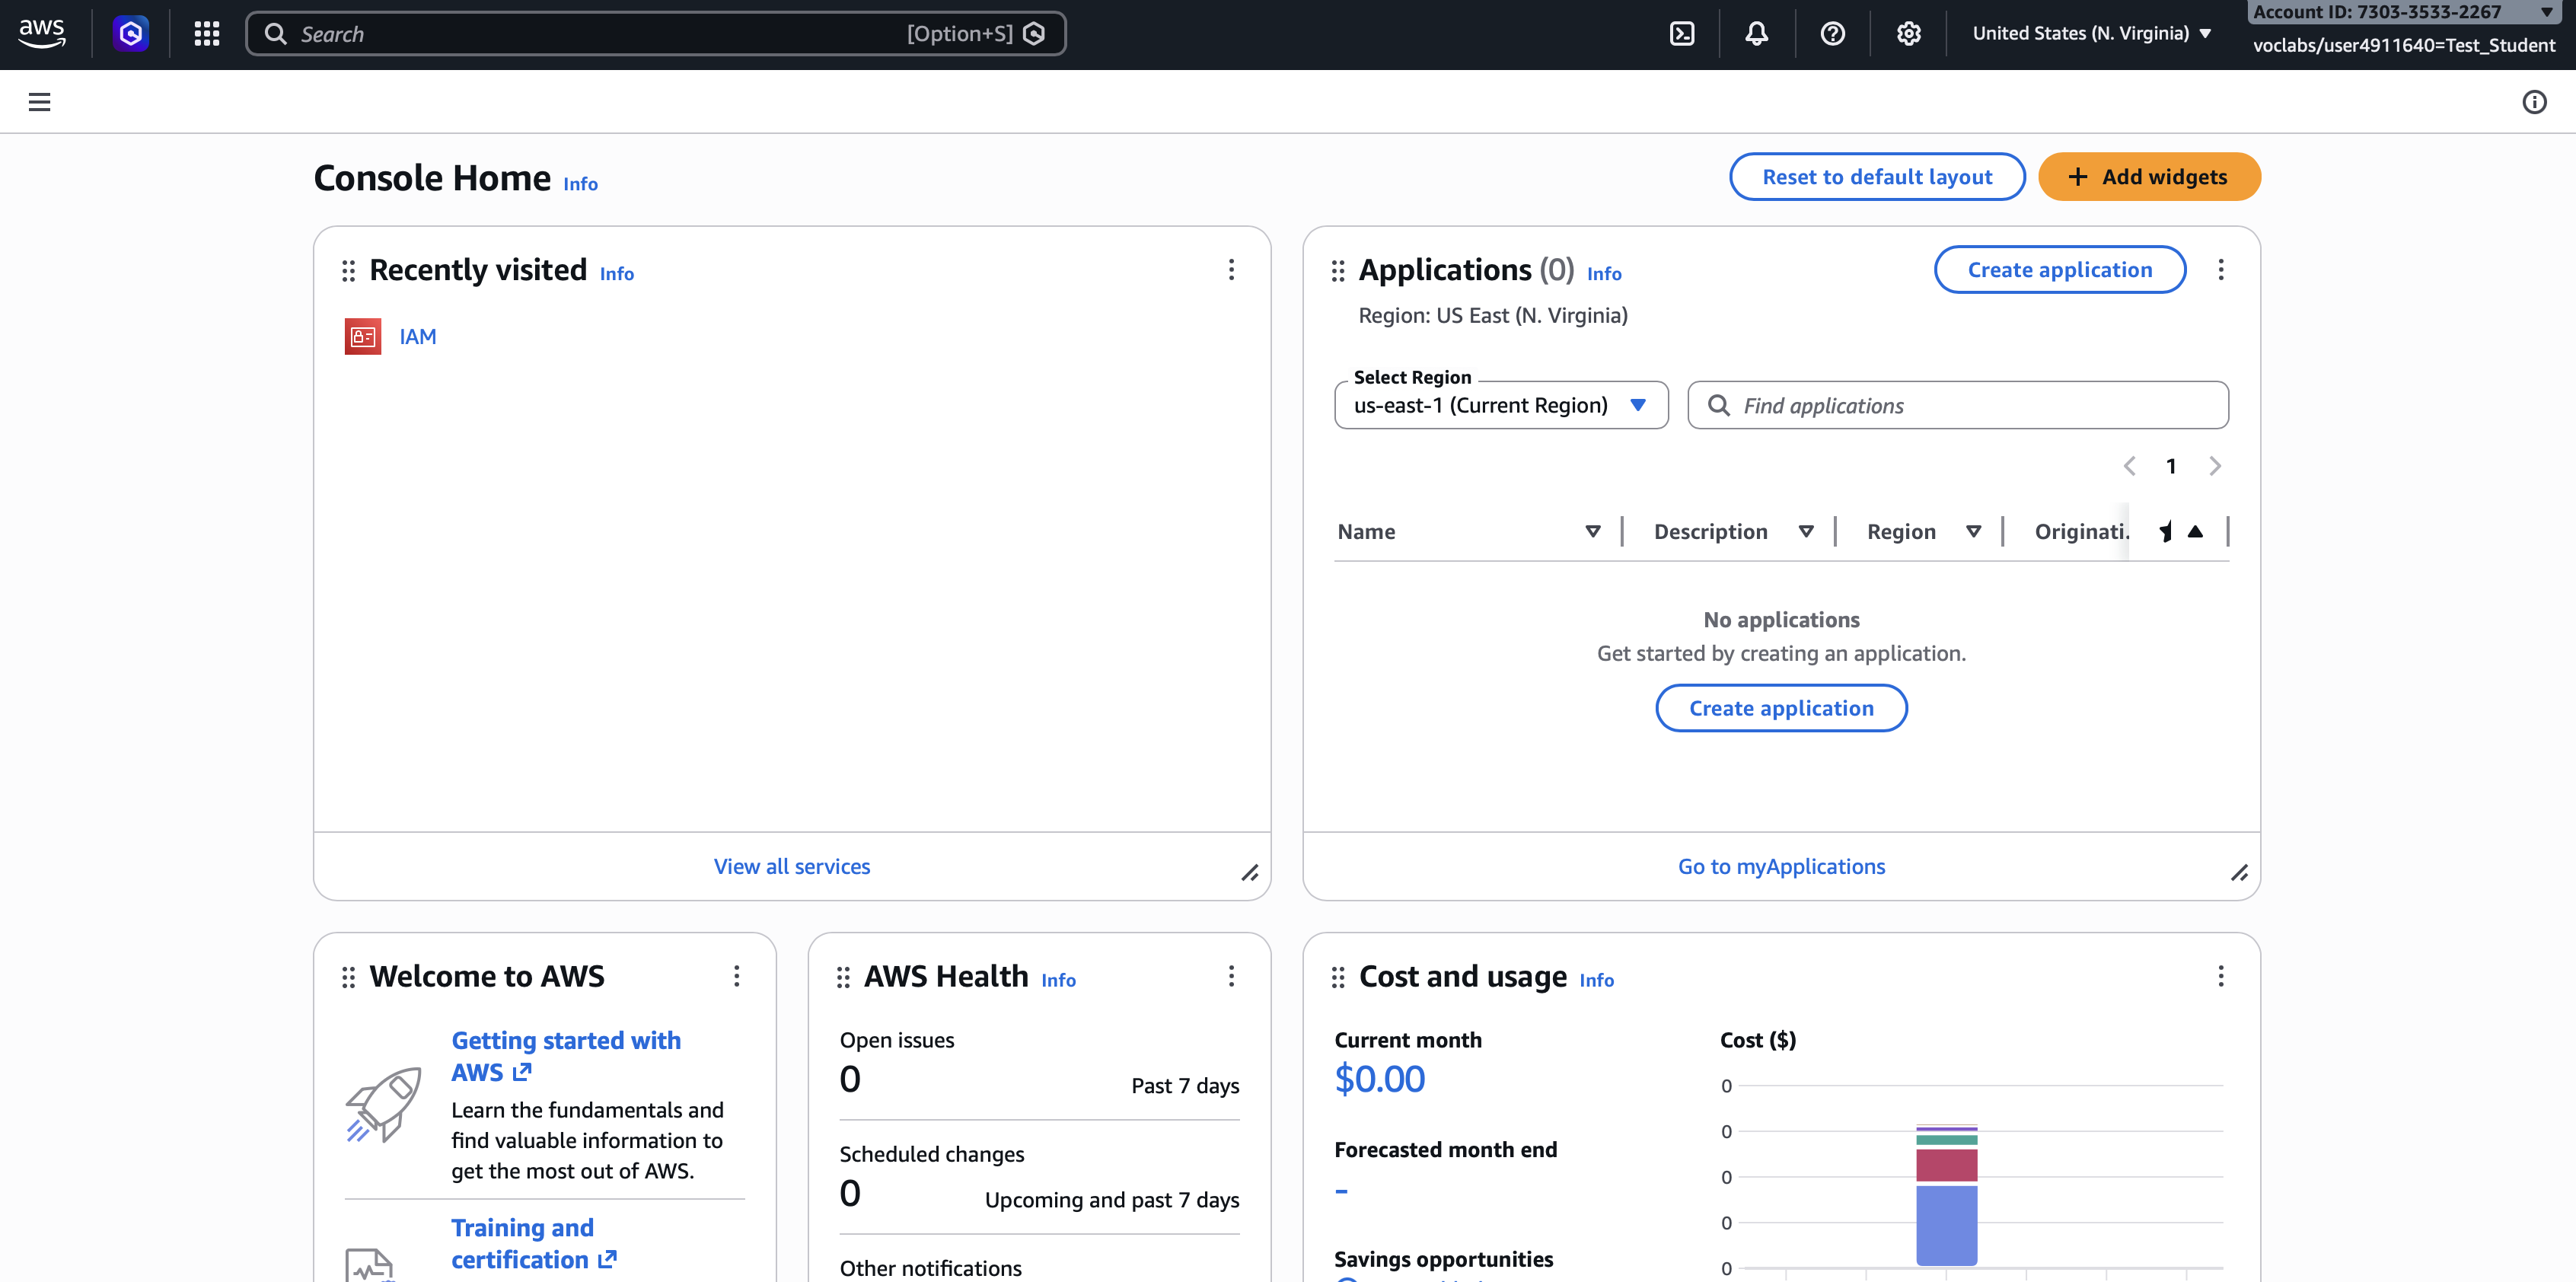
-
Submit your work in AWS Academy.
-
End the AWS Academy lab.
Step 4: Access AWS Management Console for ds2002
In Practice 02 and Lab 01 you connected to a remote server via ssh, using the ds2002 user account. This server is hosted on AWS. Let’s take a look behind the scenes and review the account setup in the AWS IAM via the AWS Management console.
-
The
AWS Console URLandusername,passwordfor the ds2002 AWS account are posted in the Canvas assignment forLab 08 - Working with S3 Storage. -
After logging in, you should see a screen like this:
-
Click on
IAMto open the Identity & Access Management page. -
Click on
Users. -
Click on
ds2002-user.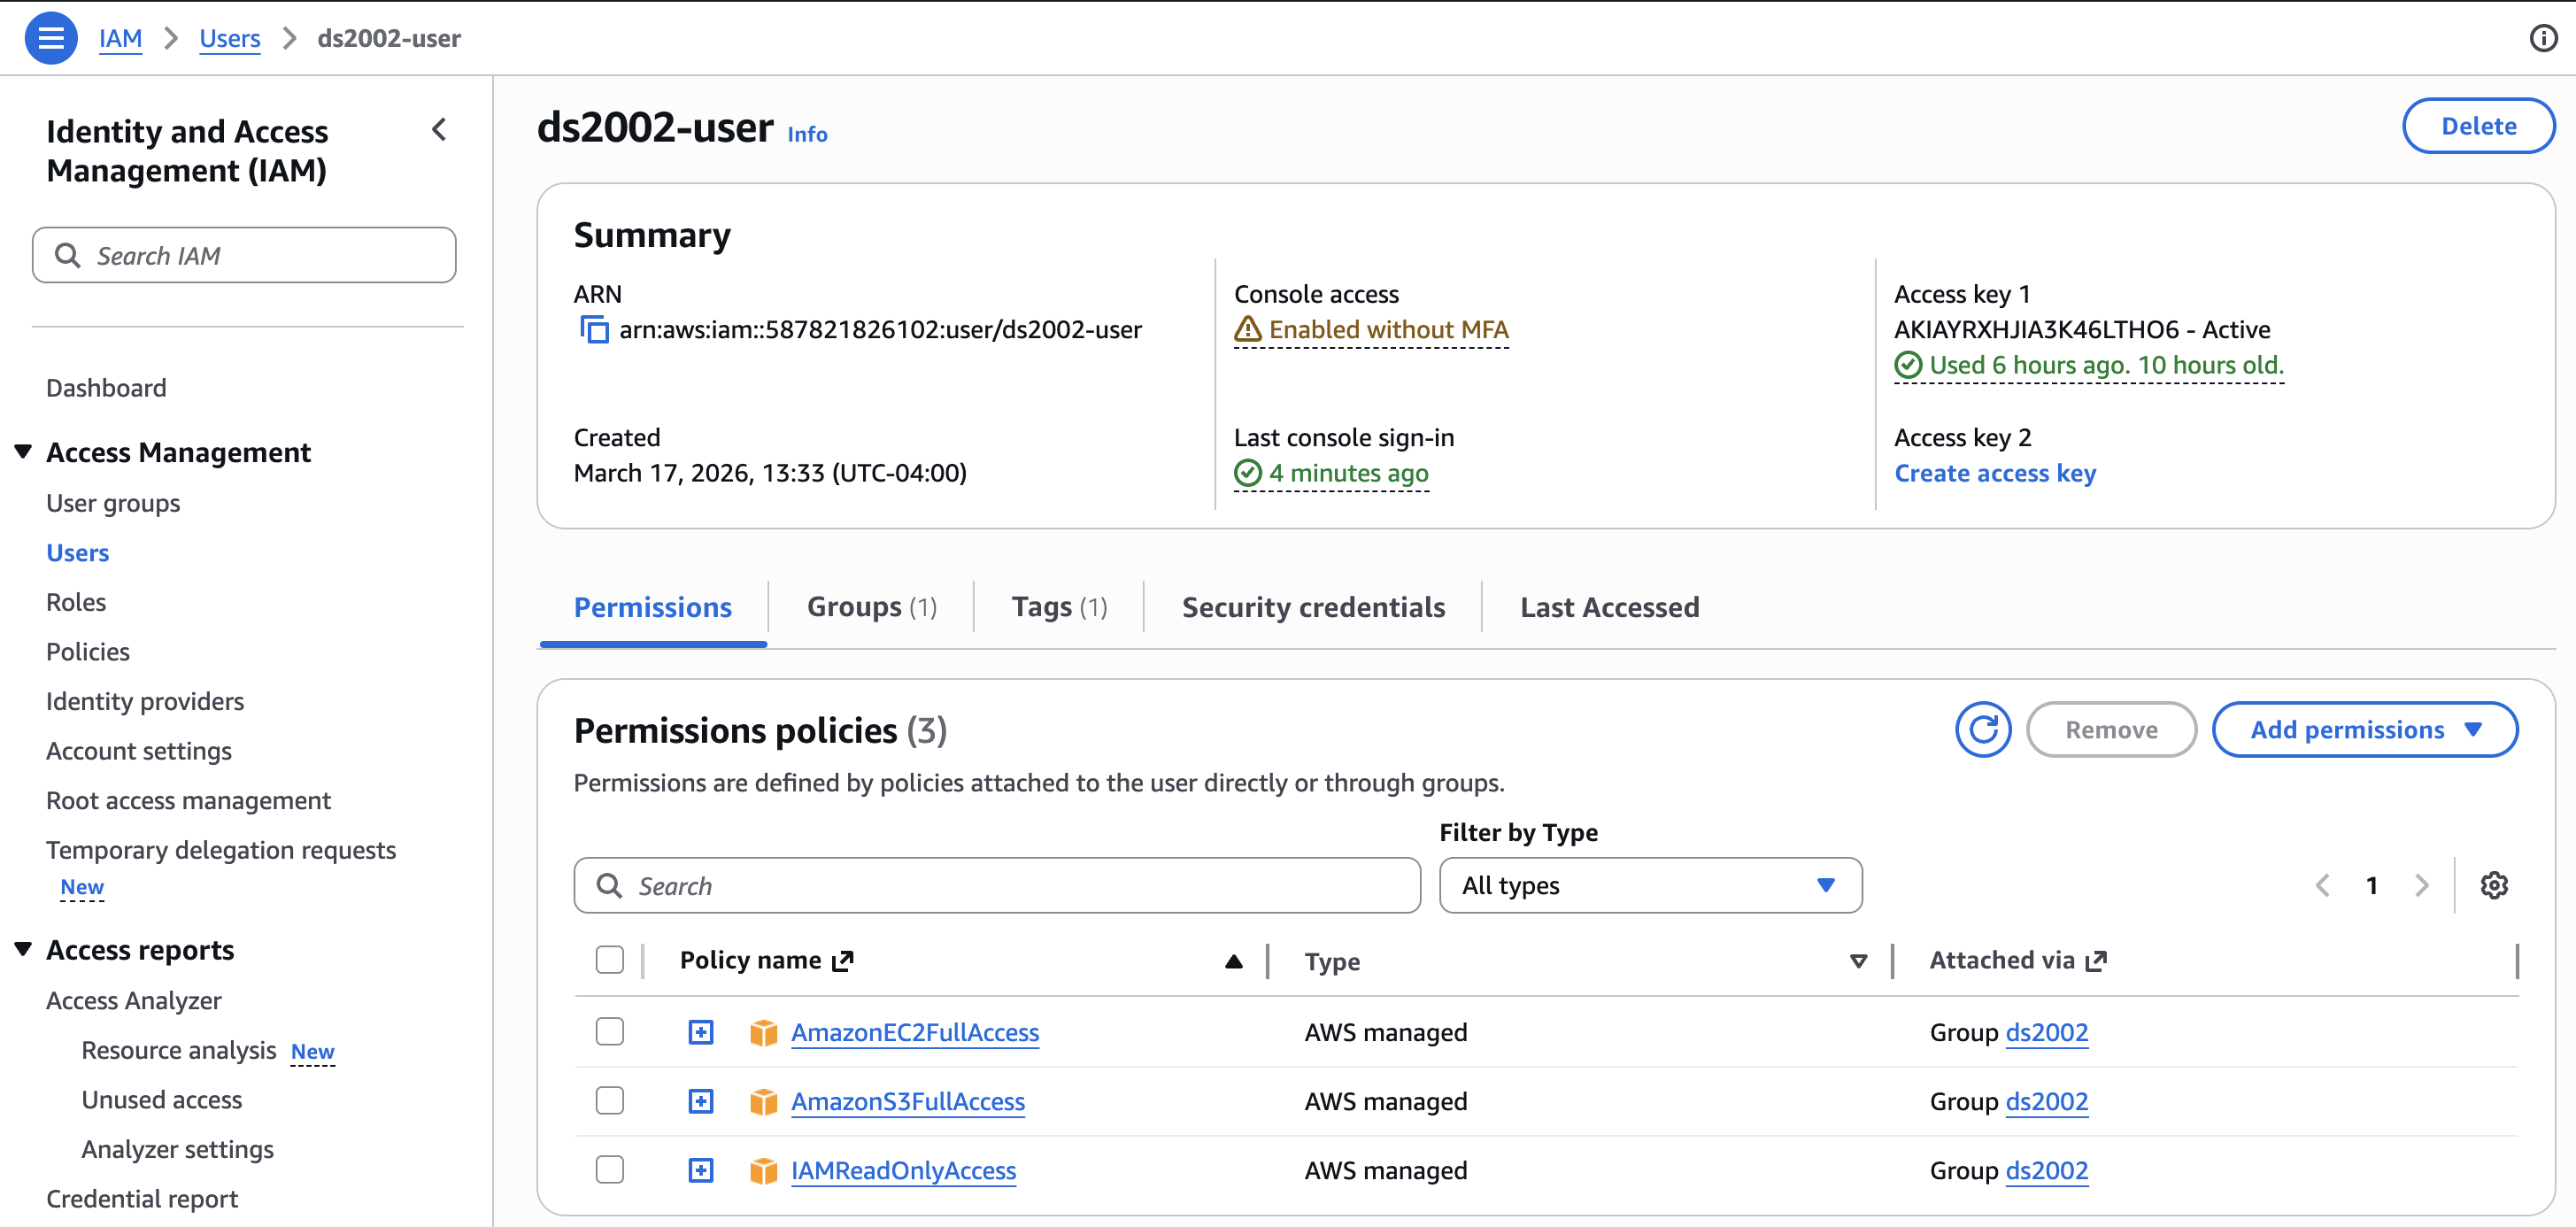
-
On the
Permissionstab, note the Permission policies granting:- AmazonEC2FullAccess
- AmazonS3FullAccess
- IAMReadOnlyAccess
S3
Environment
The following exercises require that you have a working Python3 environment and both the AWS CLI tool (with access keys configured) and Python3 / boto3 installed.
-
Start a Code Server (VSCode) session in Open OnDemand on UVA’s HPC system.
- Activate your environment:
module load miniforge source activate ds2002 -
AWS CLI and Python packages
Theds2002environment should have the AWS CLI andboto3packages installed. If you need to reinstall (on the HPC system or elsewhere), follow these steps:AWS CLI installation:
python3 -m pip install awscliboto3installation:python3 -m pip install boto3
AWS CLI configuration
You are set up as user ds2002 in AWS. Your credentials are posted in the Canvas assignment for this lab. Look them up now. You will need:
- AWS_ACCESS_KEY
- AWS_SECRET_ACCESS_KEY
It is highly advised NOT to use root credentials for access in this way.
In the terminal, follow these steps to configure the aws command line tools:
aws configure
You will be prompted to enter:
- AWS Access Key ID: Enter the Access Key ID (from Canvas)
- AWS Secret Access Key: Enter the Secret Access Key (from Canvas)
- Default region name: Enter your preferred AWS region (use
us-east-1, you generally want to choose the one that’s geographically closest) - Default output format: Enter
json(recommended) ortextortable
The AWS account you enter in these steps must have at least read permission to access the resources you want to download.
Upon completion of aws configure you will see a hidden directory ~/.aws.
Note: Remember, the creation of personal config files in hidden directories inside your home directory is a best-practice pattern.
Check the config file
You can verify your AWS configuration by viewing the config file:
cat ~/.aws/config
cat ~/.aws/credentials
Or test your configuration by running:
aws sts get-caller-identity
This command will display in JSON format the associated AWS account ID, user ARN, and user ID, confirming that your credentials are working correctly.
It should look similar to this:
{
    "UserId": "xxxxxxxxxxxxx",
    "Account": "nnnnnnnnnnnnnnn",
    "Arn": "arn:aws:iam::nnnnnnnnnnnnn:user/ds2002-user"
}
Access S3 using the AWS CLI
Now we can get busy!
aws s3 ls - List Buckets
aws s3 ls
You should see a list similar to this
2026-03-17 13:59:08 course-read-only
2026-03-17 14:01:15 course-read-write
2026-03-17 14:09:13 ds2002-khs3z
aws s3 mb - Make a new bucket
echo $USER
aws s3 mb s3://mybucket-$USER
On the UVA HPC system, the $USER variable will be expanded to your computing id. We use it here to allow all students to create separate buckets without naming conflicts. You should see a response like:
make_bucket: mybucket-mst3k
Remember that S3 bucket names must be globally unique from all other AWS customers. If you receive an error that the bucket already exists, retry with a new name, e.g. mybucket-$USER-1, mybucket-$USER-2, etc..
Log into AWS Management Console. The url and credentials are posted in Canvas assignment for Lab 08 - Working with S3. Search for S3 and click on General Purpose Buckets
aws s3 rm - Remove a bucket
aws s3 rm s3://mybucket-mst3k
Remember that S3 buckets must be emptied of all contents before they can be removed. Once removed the bucket name is available for other users.
aws s3 ls - List the contents of a bucket
In the example below, replace mybucket-mst3k with your actual bucket name.
aws s3 ls s3://mybucket-mst3k/
                           PRE keys/
                           PRE status/
                           PRE zip/
2020-06-26 09:50:08      10451 index.json
2020-06-26 09:50:09         64 robots.txt
FOLDERS IN S3 - Contrary to how it appears, S3 is not a file system in the ordinary sense. Instead, it is a web-based, API-driven object storage service containing KEYS and VALUES. The key (name) of a file (object) is arbitrary after the name of the bucket itself, but must obey certain rules such as using no unusual characters. The typical form of grouping objects under “subfolders” uses the same naming convention as regular filesystems with a “key” such as:
mybucket1/folder/subfolder/filename.txt
The value (contents) of that key are the actual contents of the file itself. But it is important to remember that folders as they appear in the path of an S3 object are simply a mental convenience.
aws s3 cp - Upload a file
The general syntax is
aws s3 cp SOURCE DESTINATION
aws s3 cp local-file.txt s3://mybucket-$USER/
To upload a file and make it publicly available via HTTPS, add an acl property to it:
aws s3 cp --acl public-read local-file.txt s3://mybucket-$USER/
aws s3 cp - Download a file
Notice that the aws s3 cp command uses the same SOURCE and DESTINATION concept as the Linux cp command (see Linux CLI). SOURCE and DESTINATION can refer to a specific file or folder.
So to download a file the SOURCE is the file in the S3 bucket and the DESTINATION a folder in our local environment (./ refers to the current directory you’re in).
aws s3 cp s3://mybucket1/robots.txt ./
You can copy between any source/destination so long as at least one of them is S3:
- Copy from local environment to S3
- Copy from S3 to local environment
- Copy from S3 bucket to another S3 bucket
aws s3 sync - Synchronize to/from an S3 bucket
aws s3 sync ./local-dir s3://mybucket1/remote-dir/
You can synchronize between any source/destination so long as at least one of them is S3:
- Sync from local workstation to S3
- Sync from S3 to local workstation
- Sync from S3 bucket to another S3 bucket
aws s3 rm - Remove a file from S3
aws s3 rm s3://mybucket1/file-not-wanted.pdf
aws s3 mv - Move a file within S3
aws s3 mv s3://mybucket1/original-file.csv s3://mybucket1/moved-file.csv
aws s3 presign - Presign an S3 URL
In some cases users want to share a file with a remote party without creating access keys or for a limited amount of time. The presign feature
is useful in this case since it creates a unique signed URL that expires after a set amount of time.
To set the expiry time, calculate the length of time you want the signature to last in seconds. This value will be used with the --expires-in flag.
aws s3 presign --expires-in 600 s3://mybucket1/path/file-to-share.tar.gz

https://mybucket1.s3.amazonaws.com/path/file-to-share.tar.gz?AWSAccessKeyId=AKICMAJHNXKQDLN34VZJ&Signature=sCH2pRjn7M02P5D8JnAyBq%2FP7kQ%3D&Expires=1593196195
Access S3 using boto3 in Python
The boto3 package is the standard library enabling programmatic access to AWS using Python. boto3 can access all AWS services and is helpful for creating,
managing, or removing remote resources and infrastructure dynamically. The steps below refer to using boto3 for working with files in S3.
boto3 will obtain its credentials from one of a few various locations:
- Hard-coded credentials within the application code itself. This is bad security practice and not recommended!
- Inherited credentials from the
~/.aws/directory within your home directory. This is common for remote development. - Injected as environment variables of the environment in which your code is running.
- Inherited credentials from the IAM role of the EC2 instance running your code. This is a best practice for production systems in AWS.
Install boto3
python -m pip install boto3
Confirm with
python -c "import boto3"
If you don’t receive an error message, the boto3 package was found in your current environment.
Use boto3
Import the library as you would for any other Python package, and set up a client or resource for the AWS service:
import boto3

s3 = boto3.client('s3')
Pass credentials via env variables
In the shell that’s executing the Python script, define environment variables for your AWS credentials.
export MY_ACCESS_KEY="YOUR_KEY"
export MY_SECRET_ACCESS_KEY="YOUR_SECRET"
Then execute your Python script, which may look like this:
import os
import boto3

# Assume the following environment variables are set:
# export MY_ACCESS_KEY="YOUR_KEY"
# export MY_SECRET_ACCESS_KEY="YOUR_SECRET"

ACCESS_KEY = os.getenv('MY_ACCESS_KEY')
SECRET_ACCESS_KEY = os.getenv('MY_SECRET_ACCESS_KEY')
s3 = boto3.client(
    "s3",
    aws_access_key_id=ACCESS_KEY,
    aws_secret_access_key=SECRET_ACCESS_KEY)
Create a bucket
import boto3

bucket_name = "ds2002-mst3k"  # replace with your bucket name
s3 = boto3.client("s3", region_name="us-east-1")
s3.create_bucket(
    Bucket=bucket_name,
    CreateBucketConfiguration={"LocationConstraint": "us-east-1"},
)
Delete a bucket
import boto3

bucket_name = "ds2002-mst3k"  # replace with your bucket name
s3 = boto3.client("s3")
s3.delete_bucket(Bucket=bucket_name)
Note: Buckets have to be empty before they can be deleted.
Upload a file to S3
import boto3

bucket_name = "ds2002-mst3k"  # replace with your bucket name
local_file = "cloud.jpg"
key = "cloud.jpg"            # path in bucket (prefix/filename)

s3 = boto3.client("s3")
with open(local_file, "rb") as f:
    s3.put_object(Bucket=bucket_name, Key=key, Body=f)
Download a file from S3
import boto3

bucket_name = "ds2002-mst3k"  # replace with your bucket name
key = "cloud.jpg"
local_file = "downloaded-cloud.jpg"
s3 = boto3.client("s3")

obj = s3.get_object(Bucket=bucket_name, Key=key)
# save the object, "wb" stands for write binary
with open(local_file, "wb") as f:
    f.write(obj["Body"].read())
Deleting files in S3
import boto3

s3 = boto3.client("s3")
bucket_name = "ds2002-mst3k"  # replace with your bucket name
key = "cloud.jpg"

s3.delete_object(Bucket=bucket_name, Key=key)
Access control lists (ACLs)
Catching boto exceptions
Most S3 errors show up as a botocore.exceptions.ClientError. For the simplest demos above, we omit error handling so you can focus on the API calls.
See the Python script files for additional examples (including error handling patterns).
Advanced Concepts (Optional)
IAM
Policies
Example (bucket policy that allows read-only access to everything in a bucket):
{
  "Version": "2012-10-17",
  "Statement": [
    {
      "Effect": "Allow",
      "Principal": "*",
      "Action": ["s3:GetObject"],
      "Resource": "arn:aws:s3:::YOUR-BUCKET-NAME/*"
    }
  ]
}
Example (least-privilege IAM policy that only allows uploads to one prefix):
{
  "Version": "2012-10-17",
  "Statement": [
    {
      "Effect": "Allow",
      "Action": ["s3:PutObject"],
      "Resource": "arn:aws:s3:::YOUR-BUCKET-NAME/book-analysis/*"
    }
  ]
}
AWS STS + temporary credentials
Example (conceptual flow):
- Create a role with an S3 policy attached.
- Call
sts:AssumeRoleto get temporary credentials. - Use those temporary credentials in the AWS CLI or
boto3instead of long-lived access keys.
AWS CLI — one-off assume-role
aws sts assume-role \
  --role-arn arn:aws:iam::123456789012:role/YOUR_ROLE_NAME \
  --role-session-name ds2002-session
The JSON output includes AccessKeyId, SecretAccessKey, and SessionToken. Export those as environment variables (or paste into a new shell) to run further aws commands as that role.
AWS CLI — profile that assumes a role (recommended)
Add to ~/.aws/config (use your real account ID and role name; source_profile is the profile whose user may call sts:AssumeRole):
[profile my-assumed-role]
role_arn = arn:aws:iam::123456789012:role/YOUR_ROLE_NAME
source_profile = default
region = us-east-1
Then:
aws s3 ls --profile my-assumed-role
The CLI calls STS for you when you use that profile.
boto3 — explicit assume_role
import boto3

sts = boto3.client("sts")
resp = sts.assume_role(
    RoleArn="arn:aws:iam::123456789012:role/YOUR_ROLE_NAME",
    RoleSessionName="ds2002-session",
)
creds = resp["Credentials"]

s3 = boto3.client(
    "s3",
    aws_access_key_id=creds["AccessKeyId"],
    aws_secret_access_key=creds["SecretAccessKey"],
    aws_session_token=creds["SessionToken"],
)
print(s3.list_buckets())
boto3 — same as the CLI profile
If you defined my-assumed-role in ~/.aws/config as above:
import boto3

session = boto3.Session(profile_name="my-assumed-role")
s3 = session.client("s3")
print(s3.list_buckets())
Multiple AWS profiles
You can keep credentials for several AWS accounts and users side by side using named profiles in ~/.aws/credentials and ~/.aws/config.
Example (~/.aws/credentials):
[default]
aws_access_key_id = YOUR_DEFAULT_ACCESS_KEY
aws_secret_access_key = YOUR_DEFAULT_SECRET_KEY

[ds2002]
aws_access_key_id = YOUR_DS2002_ACCESS_KEY
aws_secret_access_key = YOUR_DS2002_SECRET_KEY
Example (~/.aws/config):
[default]
region = us-east-1

[profile ds2002]
region = us-east-1
Use a specific profile with the AWS CLI:
aws s3 ls --profile ds2002
And in boto3:
import boto3

session = boto3.Session(profile_name="ds2002")
s3 = session.client("s3")
print(s3.list_buckets())
S3
Versioning + lifecycle policies
Example (lifecycle rules are configured as bucket lifecycle JSON). Common patterns:
- Delete incomplete multipart uploads after N days.
- Expire objects in a prefix after N days.
- Transition objects to cheaper storage classes after N days.
S3 event notifications
Example (typical event-driven pipeline):
- S3
ObjectCreatedevent on a prefix (e.g.,book-analysis/) - Triggers one of: Lambda, SQS, or SNS
- Your handler reads the new object and runs processing
Access logging & auditing
Examples:
- CloudTrail data events for S3: see who accessed which objects (read/write).
- S3 server access logs: deliver access logs to a separate logging bucket for analysis.