DS2002 Data Science Systems
Course materials and documentation for DS2002
Lab 00: Setup
The goal of this activity is to get you set up with Codespaces for your exercises, labs, and project, and to familiarize you with the process of submitting your work for grading.
Note: This lab corresponds to the Getting started with Environments practice exercise. Complete this lab first, then continue with the additional practice exercises.
Setup
You can use GitHub Codespaces for these exercises. Open that page and click on “New Codespace” and select your forked course repository, which is a copy of the course materials. Your personal fork should be https://github.com/YOUR_GITHUB_USERNAME/ds2002-course.
If you haven’t created the fork yet, go to Codespaces as described in the course’s general setup instructions.
Advanced: Optional - If you set up software tools on your own computer, for an additional challenge, complete these exercises on your local laptop using either the MacOS Terminal (Mac) or Git Bash (Windows). You may need to modify some commands accordingly.
Instructions:
- Start up Codespaces: On GitHub go to your forked repository, click the green Code button.
- The course repository is https://github.com/ksiller/ds2002-course
- Your personal copy (fork) should be https://github.com/YOUR_GITHUB_USERNAME/ds2002-course
- Select the Codespaces tab.
- Click Create codespace on main (or select a branch).
- GitHub will automatically detect and use the default devcontainer configuration.
- Wait for the codespace to initialize (this may take several minutes).
-
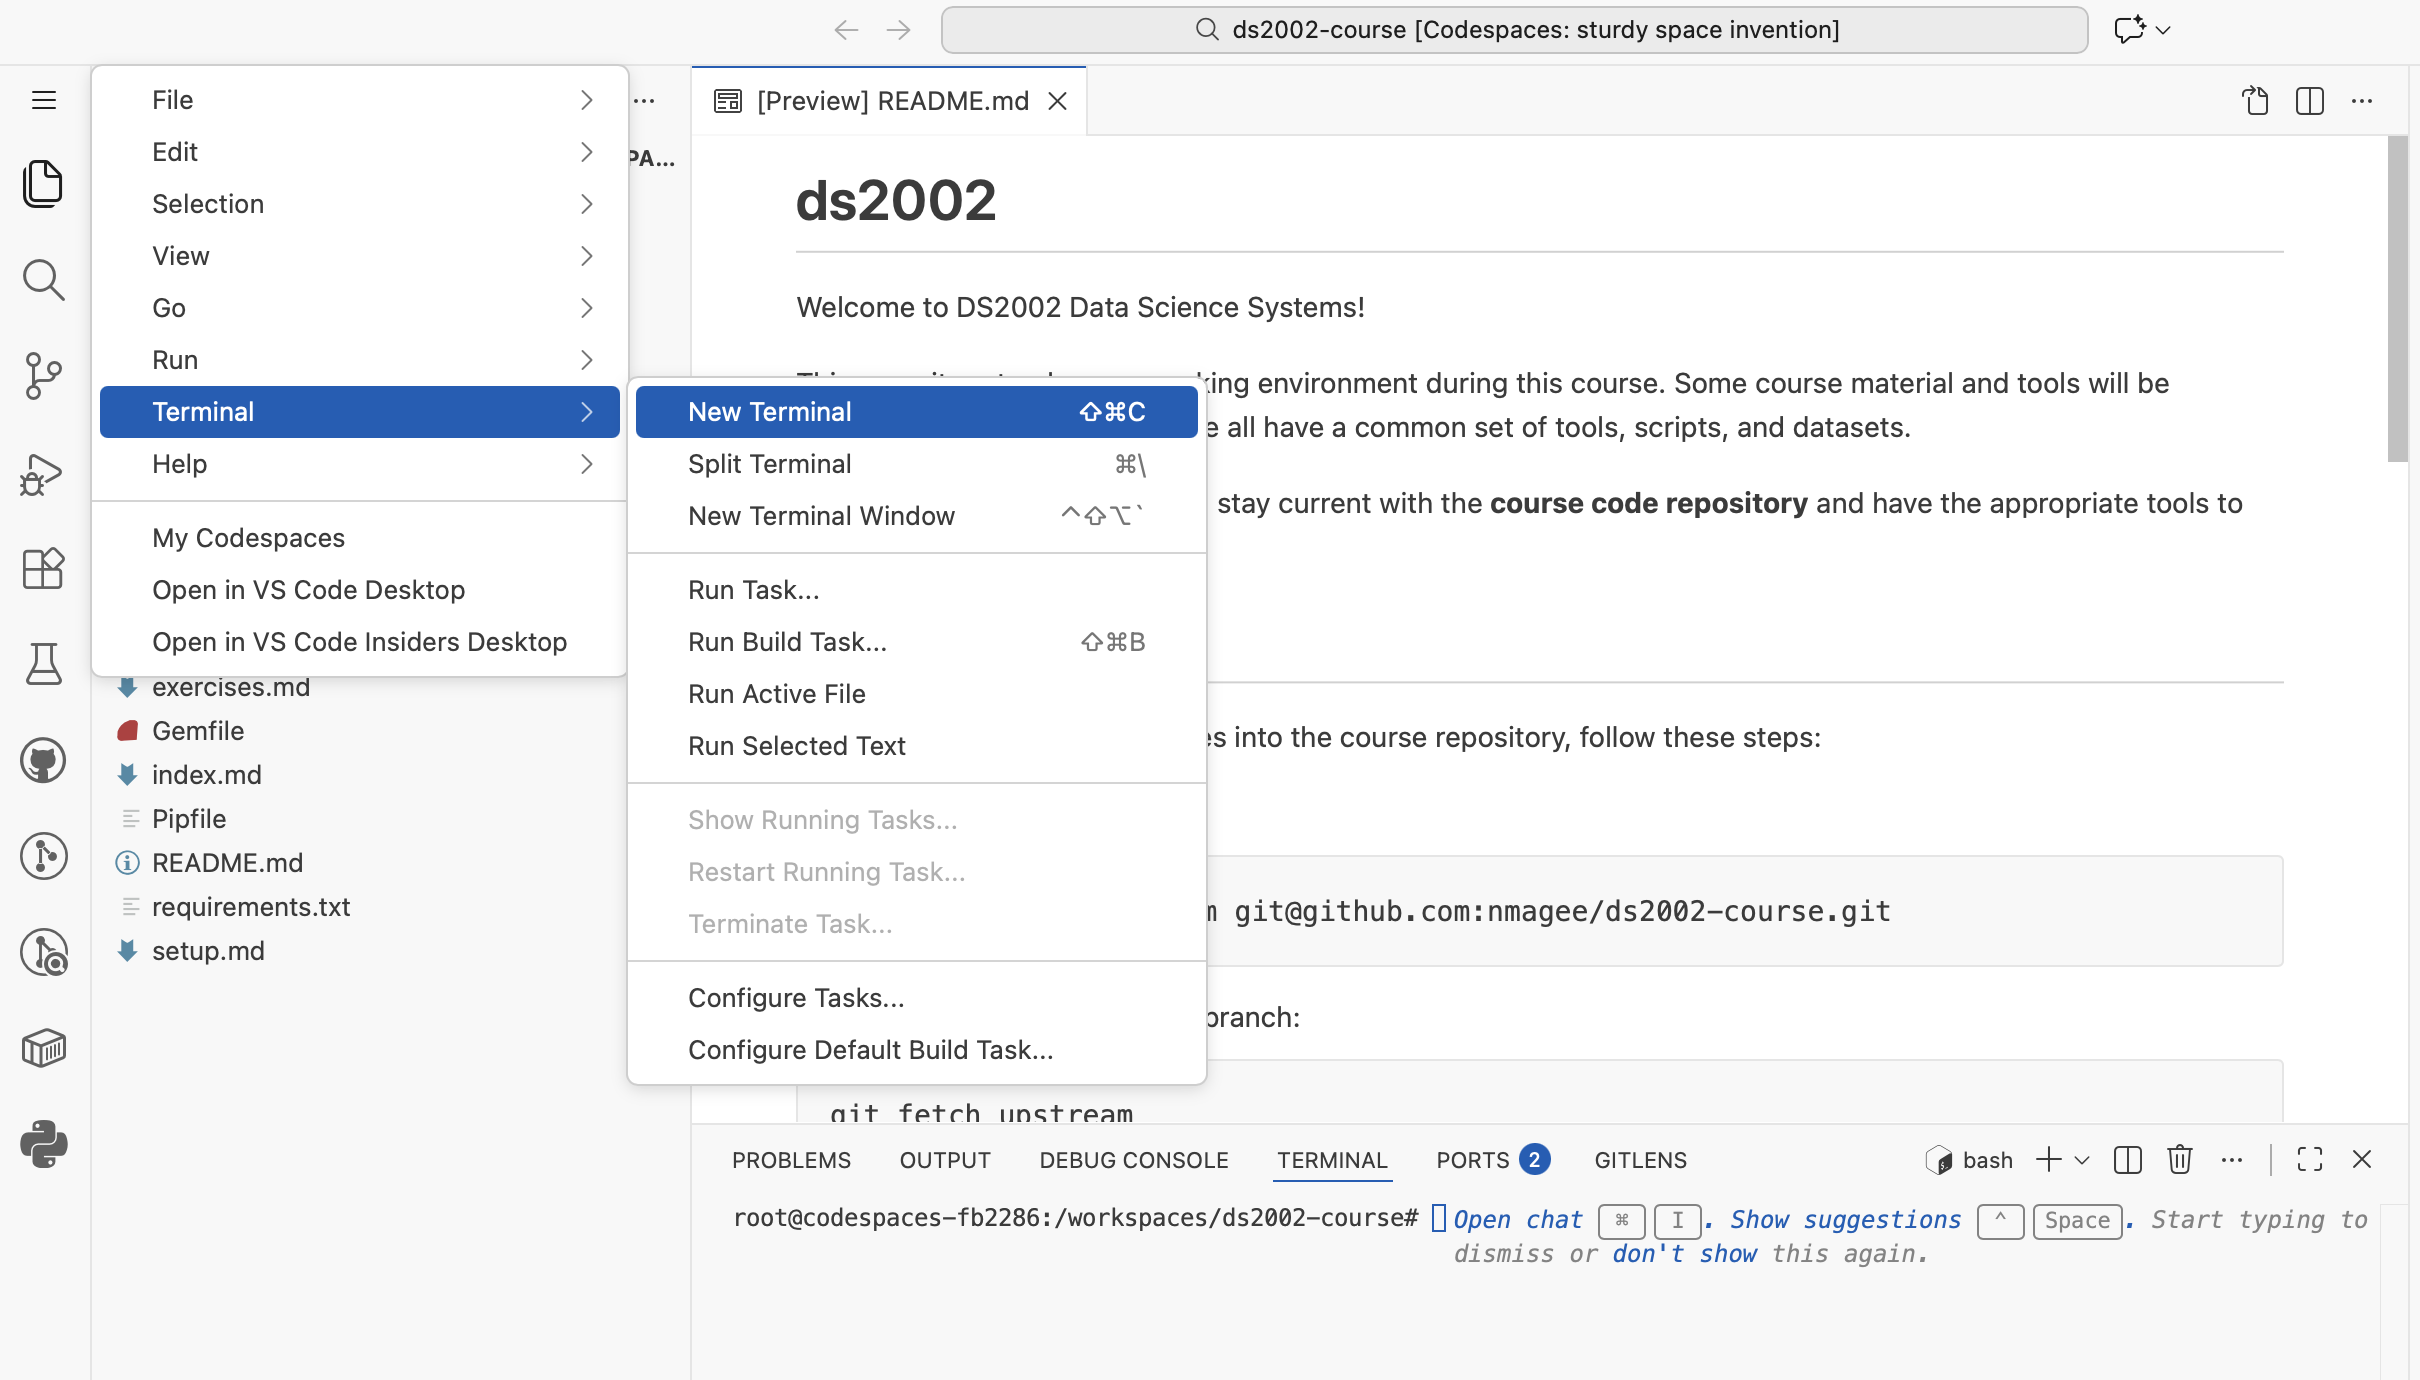
Once your codespace is running, open the terminal. The terminal will show at the bottom of your Codespaces window.
- Check the hostname of your system: Enter this command in the terminal window, hit enter/return.
hostnameThe output should look similar to this:
codespaces-57da94 -
Post the output in the class poll (URL will be shared in class).
-
Setup a prebuild configuration for your Codespace
To speed up future Codespace startups, configure a prebuild. This will create a pre-built image of your Codespace environment that can be reused, significantly reducing the time it takes to start a new Codespace instance.
Follow the Codespace Prebuild Instructions with these specific settings:
- Steps 1-6: Follow the instructions as provided.
- Step 7: Select On configuration change. This limits rebuilds to only when the devcontainer configuration changes, which helps conserve resources since the course environment rarely needs updates.
- Step 8: Choose US East only as the region for prebuilds.
- Steps 9-12: Complete the remaining steps per the official instructions.
Note: The prebuild process will take several minutes to complete. You can move on to step 10 (Optional) or skip ahead to step 11 (Submit your work) while the prebuild runs in the background. Check the status of the prebuild process in the Actions tab of your repository on GitHub.
-
Optional - On your own computer
If you have a terminal application installed on your own computer, you can run the
hostnamecommand there. - Submit your work on Canvas
- Create a secret Gist (a special kind of GitHub repository), name it “Lab-00-YOUR_COMPUTING_ID” (replace with your actual computing ID) as described in the Submitting Labs section.
- In your Gist, create a new text file
submission.txt - In the
submission.txtfile, add on three lines the following informationComputing id: <your computing id> GitHub username: <your GitHub username> Hostname: <the output from the hostname command above> - Copy and Paste the Gist URL to the Lab assignment in Canvas.
Congratulations! You are all set for the next class activities.